
LED strip connection guide
Learning how to connect LED strip lights starts with identification, not assembly. Confirm the strip voltage, board width, contact count, polarity and cut position before choosing a connector or preparing a soldered lead.
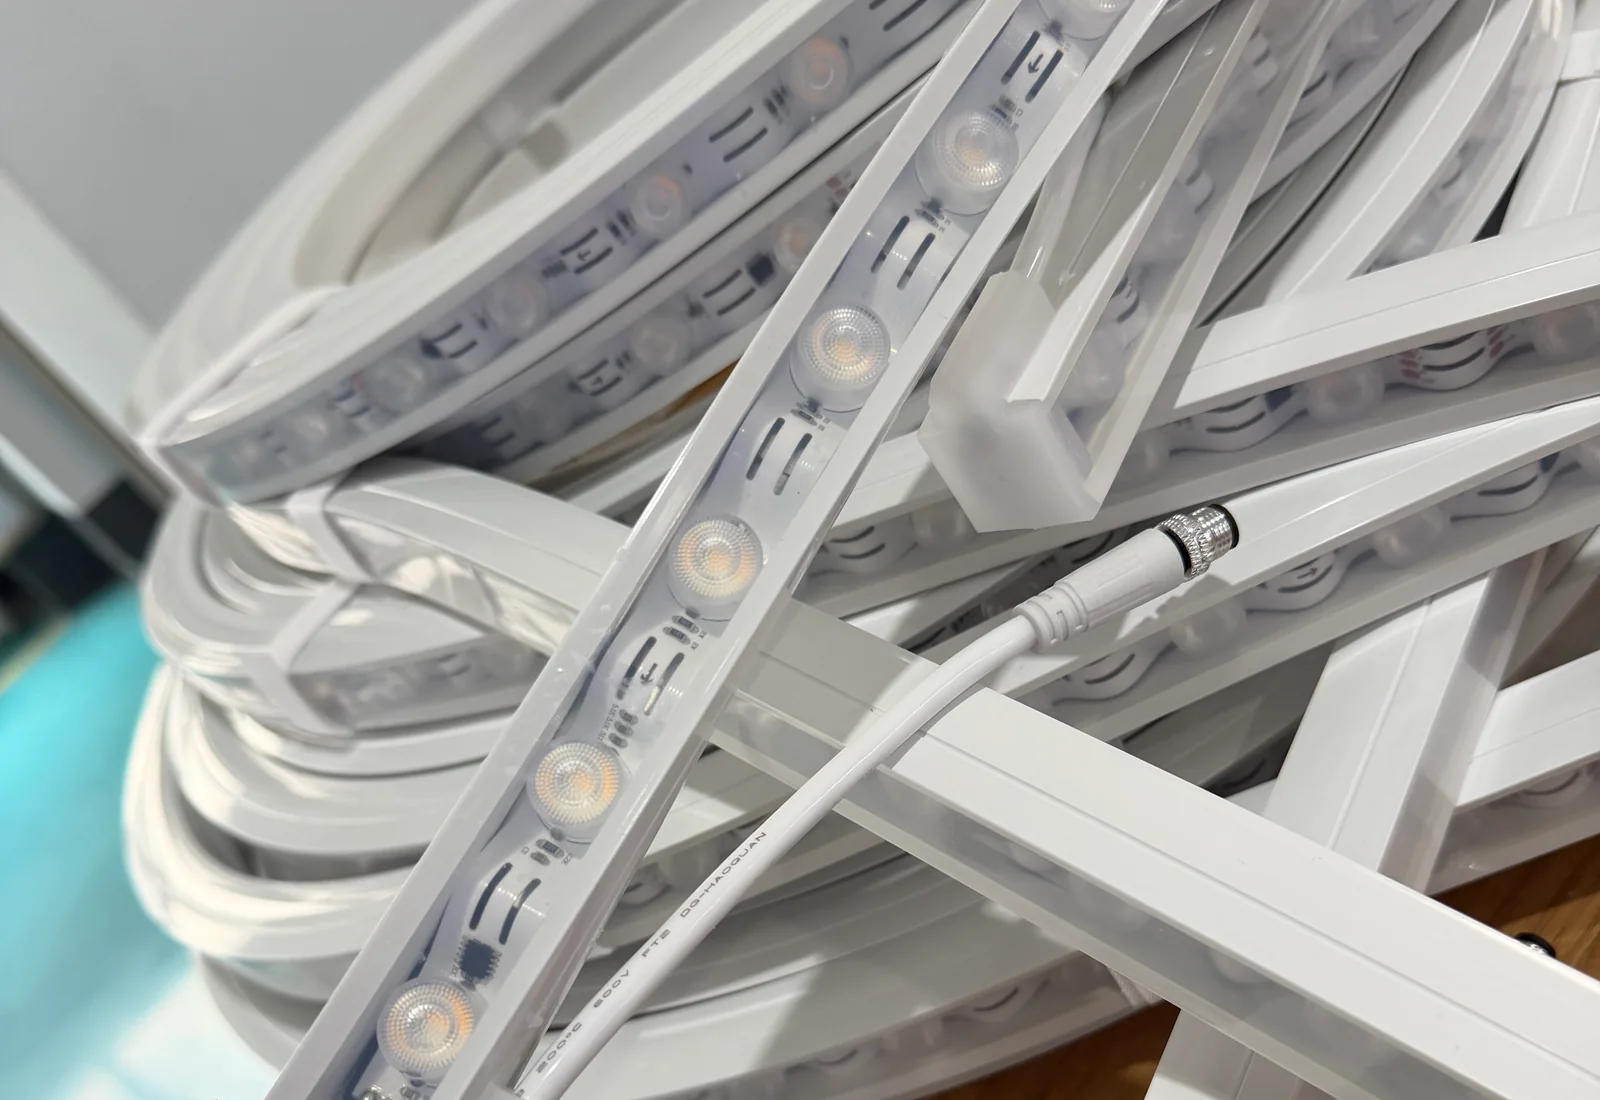
Before connecting
Check These Six Details Before You Connect LED Strip Lights
The connector is only one part of the circuit. A reliable connection depends on matching the electrical arrangement and the physical interface of the exact strip.
Rated voltage
Use the operating voltage marked for the selected strip and a compatible power supply. Do not connect a strip to an unverified supply.
Board width
Measure the flexible circuit board itself. A solderless connector must accept that width without forcing, folding or leaving the pads partly outside the contacts.
Contact count
Single-colour, tunable-white and colour-changing strips can use different contact layouts. Count and identify the actual pads instead of selecting by appearance alone.
Polarity or channel order
Match the positive and negative marks, or every labelled channel, on both sides of the connection. A reversed or shifted connection can prevent correct operation.
Cut position
Cut only at a location identified by the strip manufacturer. Cutting between approved positions can interrupt the circuit or leave inadequate contact area.
Installation environment
Coatings, sleeves, moisture protection and cable routing can change the connection method and the space required around it.
Safety first: isolate the power source before cutting, opening a connector or changing wiring. Mains-side work and fixed wiring should be handled by a qualified person under the rules applicable to the installation. OSHA electrical work-practice rules also require exposed live parts to be de-energized before work except in limited circumstances.
Connection methods
Choose a Connection Method That Matches the Strip
Strip-to-wire connector
Joins a cut strip end to a cable lead. Check board width, pad layout, conductor count and the direction in which the cable must leave the installation.
Straight strip-to-strip connector
Joins two compatible sections in line. Both pieces need the same contact arrangement and must sit squarely against the connector contacts.
Flexible jumper or corner lead
Provides separation between strip sections where the route changes. Use it to avoid folding the flexible circuit across a corner that it is not designed to follow.
Soldered cable lead
Can provide a compact connection when prepared correctly, but it requires suitable tools, controlled heat, insulation and strain relief. Use the selected strip manufacturer’s instructions.
Solderless connectors simplify assembly but are not automatically suitable for every board, coating or installation. Soldering is not automatically better either: excess heat, poor wetting, an unsupported cable or inadequate insulation can all create problems. Select the method after reviewing the complete assembly.
Seven-step method
How to Connect LED Strip Lights Step by Step
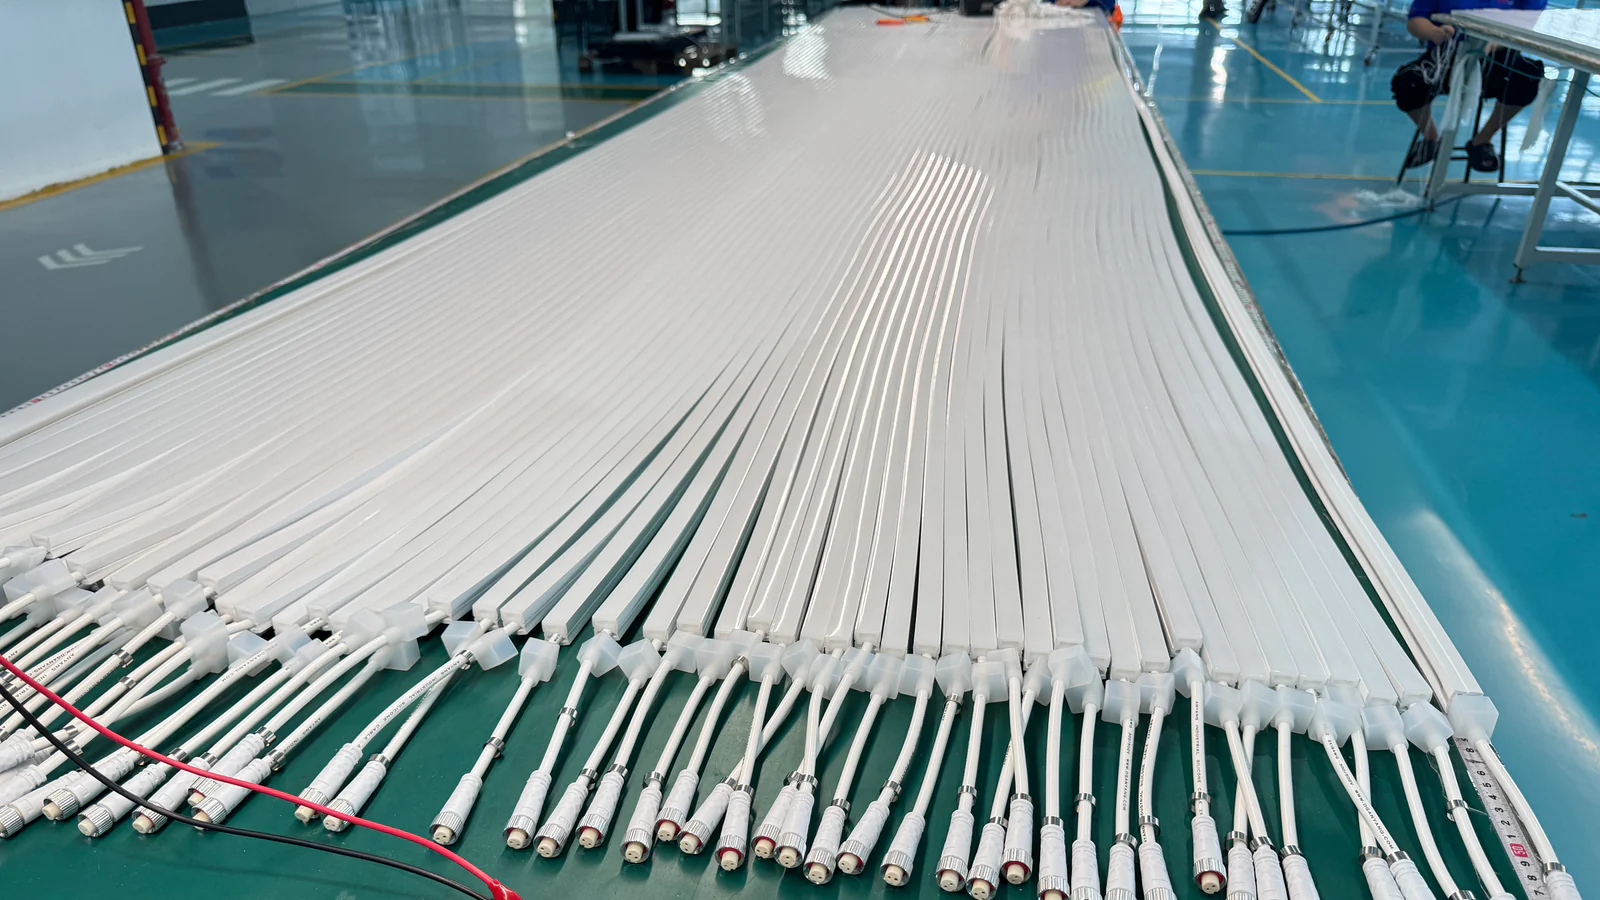
- 1
Switch off and identify the parts
Disconnect the power supply. Read the strip markings and the connector instructions. Confirm voltage, strip width, pad count and cable arrangement before cutting.
- 2
Measure the route and select an approved cut point
Allow for the connector body, cable bend and any profile or enclosure. Mark the intended cut at a manufacturer-designated cut line.
- 3
Make a clean, square cut
Use an appropriate sharp tool and avoid damaging nearby components or copper pads. An angled or ragged cut can stop the strip from seating fully.
- 4
Prepare the contact area
The copper pads must be clean and accessible to the connector contacts or solder. If the strip has a coating or sleeve, follow the product-specific preparation method rather than removing material by guesswork.
- 5
Align polarity and insert the strip
Match positive and negative marks or every channel label. Slide the strip straight into the connector until the pads sit under the contacts; do not stop with only part of the pad engaged.
- 6
Close or finish the connection
Lock the connector according to its instructions, or complete the soldered joint with suitable insulation. Add strain relief so cable movement is not transferred directly to the contact area.
- 7
Test before final mounting
Recheck the wiring, energize the system for a controlled functional test and inspect every channel. Disconnect power again before repositioning, insulating or enclosing the connection.
Troubleshooting
Why an LED Strip Connection May Not Work
| Symptom | What to check | Next action |
|---|---|---|
| No light | Power supply, polarity, cut position and whether the pads reach the contacts. | Disconnect power, reseat the strip and verify the complete circuit against the product instructions. |
| One colour or channel is missing | Channel order, contact count and alignment across all pads. | Correct the channel alignment; do not bridge or force mismatched contact layouts. |
| Flicker when the cable moves | Incomplete insertion, weak contact, cracked solder joint or missing strain relief. | Replace or remake the connection and support the cable close to the joint. |
| Brightness falls along a long run | Run length, conductor size, supply capacity and the selected strip’s voltage-drop guidance. | Review the power-distribution plan rather than adding connectors at random. |
| Connector will not close | Board width, coating thickness, component clearance and connector orientation. | Stop forcing it and select a connector designed for the actual strip construction. |
| Connection becomes warm | Loose contact, unsuitable connector, overload or damaged conductors. | Switch off immediately and replace or redesign the connection before further use. |
Assembly integration
Connecting LED Strips Inside Silicone Tubes and Profiles
A connector that works on an open strip may be too large for a silicone tube, profile channel or end cap. Check the complete assembled envelope, not only the strip width.
- Internal clearance: include component height, connector body, insulation and any joint overlap.
- Cable exit: identify the exit direction and the space needed for strain relief.
- Light appearance: keep the joint and cable arrangement from creating an unintended shadow in the visible emitting area.
- Bending route: place the connection away from a forced bend unless the selected assembly specifically permits it.
- Environmental protection: confirm how the finished end and connection meet the requirements of the actual installation.
AlisterTech supplies COB and SMD LED strip lights, end caps, mounting clips, connectors and cables, and LED silicone tubes. Compatibility and the supplied scope are confirmed for the quoted configuration.
Before requesting a quote
What Information Helps Match the Strip and Connector?
Send the information you already have. A clear photograph of both connection ends is often more useful than a generic connector name.
For unusual interfaces, use the project preparation guide to organize the drawing, dimensions and installation detail before requesting a sample.
FAQ
LED Strip Connection Questions
Can I cut LED strip lights anywhere?
No. Cut only at positions identified for the selected strip. An arbitrary cut can interrupt the circuit, damage components or leave no usable copper pad for reconnection.
Do I need to solder LED strip lights?
Not always. A compatible solderless connector may be suitable, while other assemblies use soldered or preassembled leads. Match the method to the strip construction, installation space and product instructions.
How do I know which LED strip connector I need?
Start with the board width, contact count, pad order, coating and desired connection type. Similar appearance does not establish compatibility.
What happens if LED strip polarity is reversed?
A single-colour strip will commonly fail to light when polarity is reversed. Multi-channel products can also operate incorrectly when channels are shifted. Disconnect power and correct the alignment rather than repeatedly energizing an uncertain connection.
Can different LED strip widths use the same connector?
Do not assume so. The connector needs to fit the actual board width and place its contacts accurately over every copper pad. Use the connector manufacturer’s supported range for the exact part.
Can several LED strips share one power supply?
Only when the complete load, wiring arrangement, voltage-drop plan and power supply capacity have been checked. Follow the selected product instructions or use a qualified electrical professional for the power-distribution design.
How should I connect a coated or outdoor LED strip?
The connection and its sealing method need to suit the strip construction and the installation environment. Removing a coating or adding an unverified connector can compromise the finished assembly, so use the specified preparation and sealing process.
Connection review
Need Help Matching a Strip, Connector or Profile?
Send photographs of the strip ends, the contact layout, dimensions and intended cable route. We will review the relevant product and connection scope for quotation.