
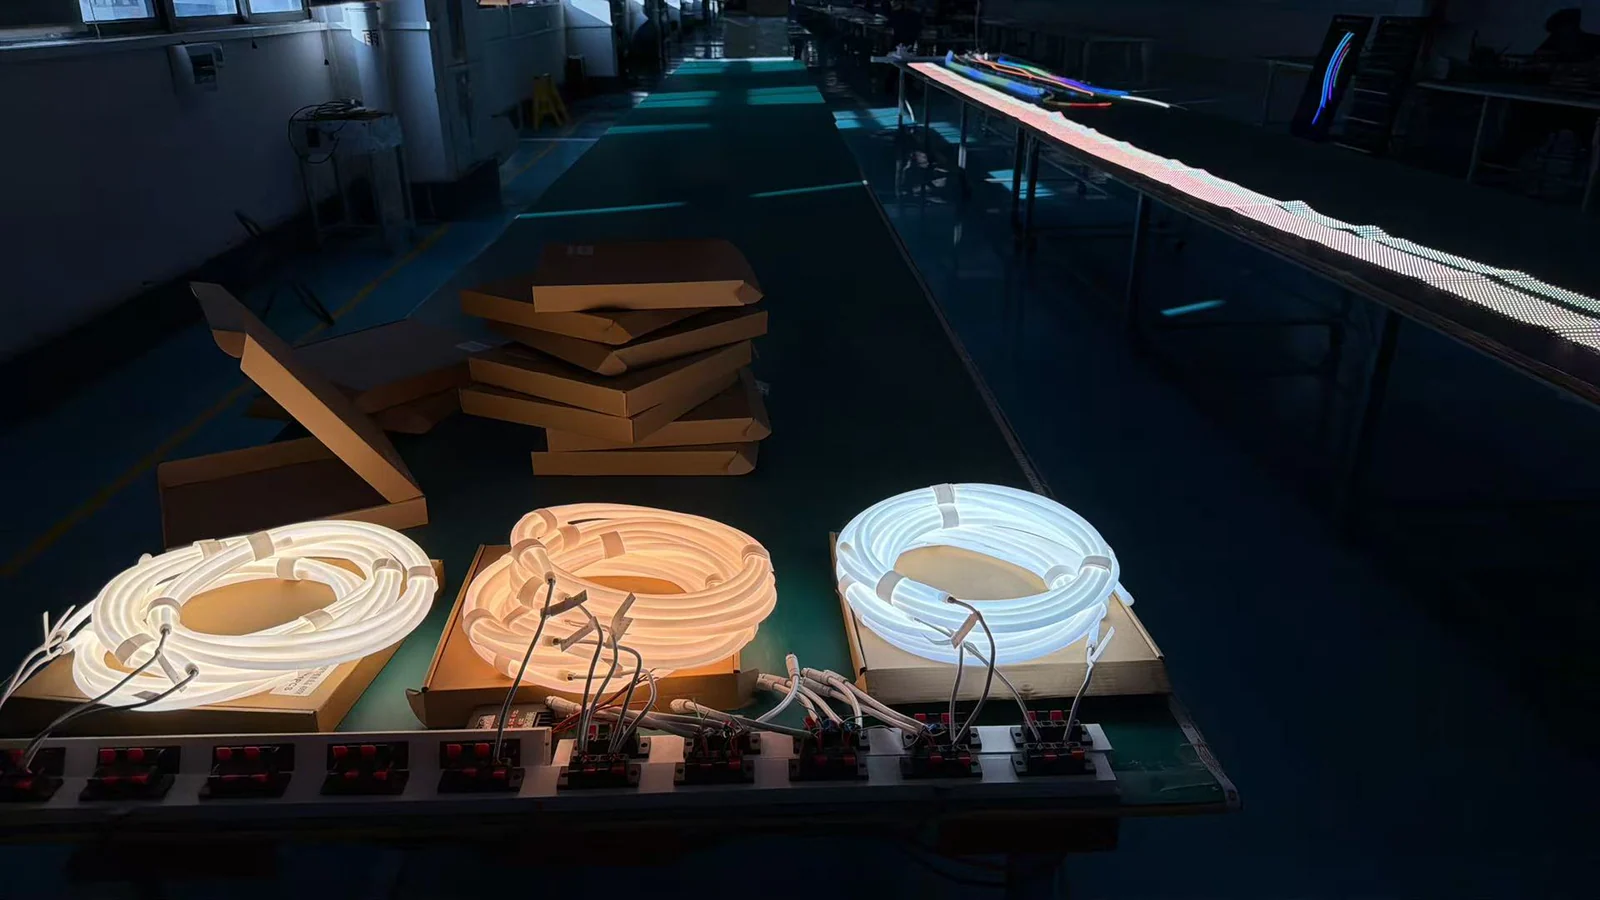
Learning how to test LED strip lights starts with identifying the exact strip and its required equipment, not simply switching on a power supply. Before installation or assembly, inspect the strip while it is unpowered, confirm the specified supply and control arrangement, make a representative connection, check the full illuminated length, and record the result against agreed project criteria. A successful function check shows that the tested sample operates under those conditions. It does not prove every performance, environmental or lifetime requirement.
Quick answer: Check the product reference, input requirements, polarity, cut points, connectors and visible condition first. Then power the sample only with matching equipment, inspect the entire strip for stable and consistent operation, test any required controller, and evaluate the strip inside the intended profile or diffuser before permanent installation.
What Should Be Ready Before the Test?
Gather the information and components that belong to the actual proposed assembly. Testing with an unrelated supply, connector or controller can create a misleading result even when the strip itself is suitable.
- The exact strip reference or available product specification
- The specified power supply and any required controller
- The intended connector, cable or soldered lead
- A representative strip length, including a joint if the project uses one
- The profile, silicone tube or diffuser when light appearance matters
- The installation drawing, viewing position and agreed acceptance points
- A camera or inspection record for documenting the sample
A digital multimeter can help a qualified person trace voltage or connection problems, but it is not required for every basic visual function check. Use measuring equipment rated for the circuit and follow its instructions.
Safety boundary: Disconnect power before making or changing connections. Never connect a low-voltage LED strip directly to mains power. Live electrical measurements should be performed only by a qualified person using suitable equipment and the selected product's instructions.
How to Test LED Strip Lights Step by Step
1. Confirm the Exact Strip and Electrical Requirements
Start with the label, specification or approved sample reference. Confirm the required input, contact layout, polarity, control type and any model-specific limits. Do not infer these details from board color, connector shape or a photograph.
If the strip is part of a replacement project, record the existing strip and equipment before disconnecting anything. A visually similar strip may use a different electrical or control arrangement.
2. Inspect the Strip Before Applying Power
Lay out the sample without forcing it into a tight bend. Check the board, components, copper pads, cut marks, coating and cable entry for visible damage or contamination. Look for creases, cracked solder joints, displaced components, exposed conductors or a cut that does not follow the marked position.
Also inspect the connection hardware. The connector must match the strip width, contact count and pad position. A connector can close mechanically while still missing the electrical contacts.
3. Build a Representative Test Connection
Use the intended supply, controller and connection method where practical. Observe polarity and channel order. Keep conductors separated, support the strip so contacts are not under strain, and verify that no bare conductor can create a short circuit.
For a longer installation, a short sample can confirm basic compatibility, but it cannot reveal every issue that may occur across the final run. Include the proposed run length, cable route and power-feed arrangement in the engineering review.
4. Perform the First Power-Up
Power the strip under controlled conditions and watch the entire sample. It should start without repeated cycling, unexpected flashing, unusual noise or an abnormal smell. If the result is not normal, switch off the system before touching or changing the connection.
Do not respond to a dark or dim strip by trying a higher, unverified supply. First recheck the selected equipment, polarity, control state and contact points.
5. Inspect the Full Illuminated Length
Look from the beginning to the end of the strip. Note any dark section, intermittent point, color difference, visible flicker or change in brightness. Move the cable and connector only within their intended range to see whether a loose contact causes the fault.
For an RGB or tunable product, test the required channels and control states. For a single-color product, compare the visible result from the intended viewing distance rather than relying only on a close-up photograph.
6. Check the Connection and Control Functions
Operate the controller, dimmer or switching method that is included in the proposed system. Confirm that the strip responds consistently and returns to a stable state. If a fault appears only when a controller is added, isolate the strip, controller, supply and each connection one at a time rather than replacing parts at random.
The LED strip connection guide explains the identification checks for contact count, polarity and connector fit.
7. Test the Strip in the Intended Profile or Diffuser
A bare strip test confirms basic operation, but it does not show the finished light line. Place the sample in the proposed channel, silicone tube or diffuser and review it from the real viewing position. Check visible dots, diffusion, glare, light direction and whether the strip, connector and cable physically fit.
The relationship between strip position, internal space and emitting surface matters. Review the LED Silicone Tubes page when the strip will be integrated into a silicone profile.
8. Record the Result Before Installation or Production
Keep a simple record of the tested strip reference, sample length, supply and controller, connection method, profile or diffuser, test condition, photographs and observed result. If a sample becomes the approval basis, identify it clearly so later production review does not rely on memory or an unlabelled photograph.
Use the Project Preparation checklist to organize the drawing, dimensions, strip information, application and quantity before requesting a configuration review.
What Each Type of Check Can Confirm
| Check | What it can reveal | What it does not establish by itself |
|---|---|---|
| Unpowered visual inspection | Visible damage, incorrect cuts, contamination and obvious connection issues | Electrical operation or light output |
| Basic powered function check | Whether the sample illuminates and responds to the connected equipment | Long-term reliability, environmental protection or production consistency |
| Electrical measurement | Voltage or continuity at a defined point when measured correctly | Photometric output, color quality or complete-system compliance |
| Profile and diffuser sample | Fit, visible light line, glare, diffusion and viewing appearance | Performance in every installation condition |
| Photometric measurement | Defined light and color data within the agreed measurement scope | Mechanical fit, environmental durability or certification outside that scope |
The required level of testing depends on the quoted product and project. AlisterTech's Quality Control page explains how the review scope can be matched to the selected product and requirement.
Symptom-to-Check Guide
| What you observe | First checks to make |
|---|---|
| Nothing lights | Confirm the exact supply, power state, polarity, controller state and connection contact. |
| Only part of the strip lights | Inspect the nearest cut, joint, connector and damaged section; isolate sections while power is off. |
| Light flickers or cuts out | Check loose contacts, connector pressure, controller compatibility and supply behavior. |
| The far end looks different | Compare voltage at defined points with qualified equipment and review the run length, cable and feed arrangement. |
| Color or brightness differs from the approved sample | Confirm the strip reference, controller settings, operating condition, diffuser and viewing position. |
| The strip works bare but not after assembly | Recheck internal fit, connector clearance, cable strain, bend route and the complete assembly condition. |
These observations help locate the next check; they are not universal diagnoses. Stop the test if there is visible damage, overheating, smoke, a strong odor or an unsafe connection.
A Practical Sample Acceptance Checklist
Before approving a strip for installation or assembly, record whether the sample meets the agreed points:
- The product reference and test components are identified.
- The strip has no visible damage at the reviewed length, cut points and connections.
- The complete sample powers on and remains stable during the agreed observation.
- Required channels or control functions respond as expected.
- The strip, connector and cable fit the intended profile or housing.
- The visible light line is acceptable at the intended viewing position.
- Any differences, restrictions or unresolved questions are documented.
- The approved sample and photographs can be traced to the project.
Acceptance should be specific. Statements such as "the strip works" are too broad when the project also depends on diffusion, connector clearance, control behavior or a particular light appearance.
When Is Formal Measurement Needed?
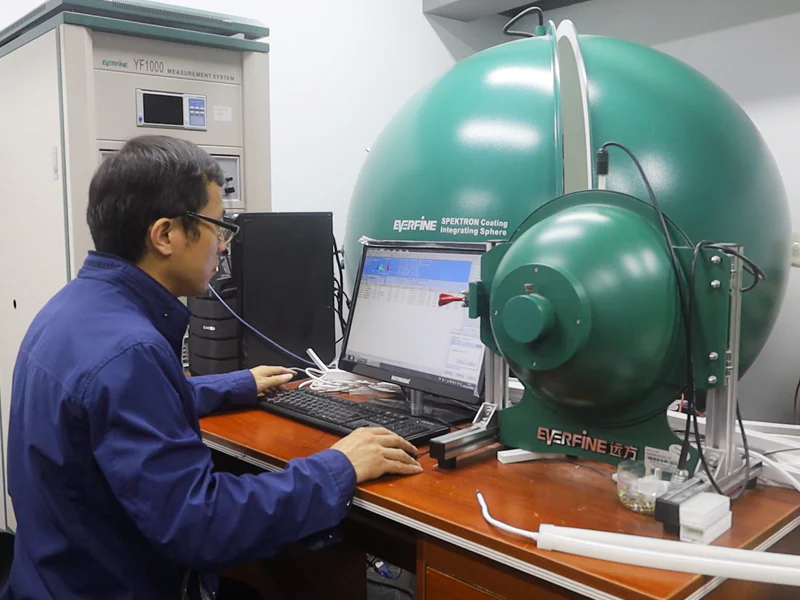
A bench function check is useful for identifying obvious problems, but it is not a photometric test. Dedicated measurement may be appropriate when the project needs defined output, color or comparison data for the quoted product. The equipment, sample condition, stabilization method and reported metrics should be agreed before testing.
Formal measurement also does not replace installation review. A product can produce acceptable measured data while still being unsuitable for a particular channel, bend route, diffuser or connection detail. Treat electrical, optical and mechanical review as connected parts of the same assembly decision.
Frequently Asked Questions
Should LED strip lights be tested before cutting?
Yes. A function check before cutting helps separate a pre-existing issue from damage or connection problems introduced later. If cutting is required, use only the marked cut position and test the prepared section again with the correct equipment.
Can I test an LED strip while it is still on the reel?
Follow the selected product's instructions. A brief identification check and a longer operating test are not the same. Coiled material can retain heat, so do not assume it is safe to operate for an extended period while tightly wound.
Do I need a multimeter to test LED strip lights?
Not for every basic function check. Visual inspection and a correctly matched supply can confirm whether a sample illuminates. A multimeter is useful when a qualified person needs to trace voltage, continuity or connection problems.
Why does an LED strip flicker during testing?
Possible causes include an unstable or mismatched supply, loose contact, incorrect controller arrangement, damaged connection or a problem within the strip. Isolate one component at a time and switch off power before changing connections.
How do I test a silicone-covered or sealed LED strip?
Use the accessible leads or approved test points. Do not pierce a sealed assembly to reach conductors. A power-on check does not confirm an environmental protection rating; that requires the applicable product documentation and test scope.
Does a successful test mean the strip is ready for the full installation?
Only for the criteria and conditions that were actually checked. Confirm the final run length, power feeds, controls, profile, diffuser, cable exits, mounting route and environment before approving the complete installation.
Planning a production order? Review the proposed manufacturing and assembly scope and request the applicable product documents. Test the actual strip inside its intended housing, or review a finished LED Neon Flex assembly when you need the light source, profile and connections supplied together. Send the product reference, observed symptom and installation drawing for a project-specific enquiry.