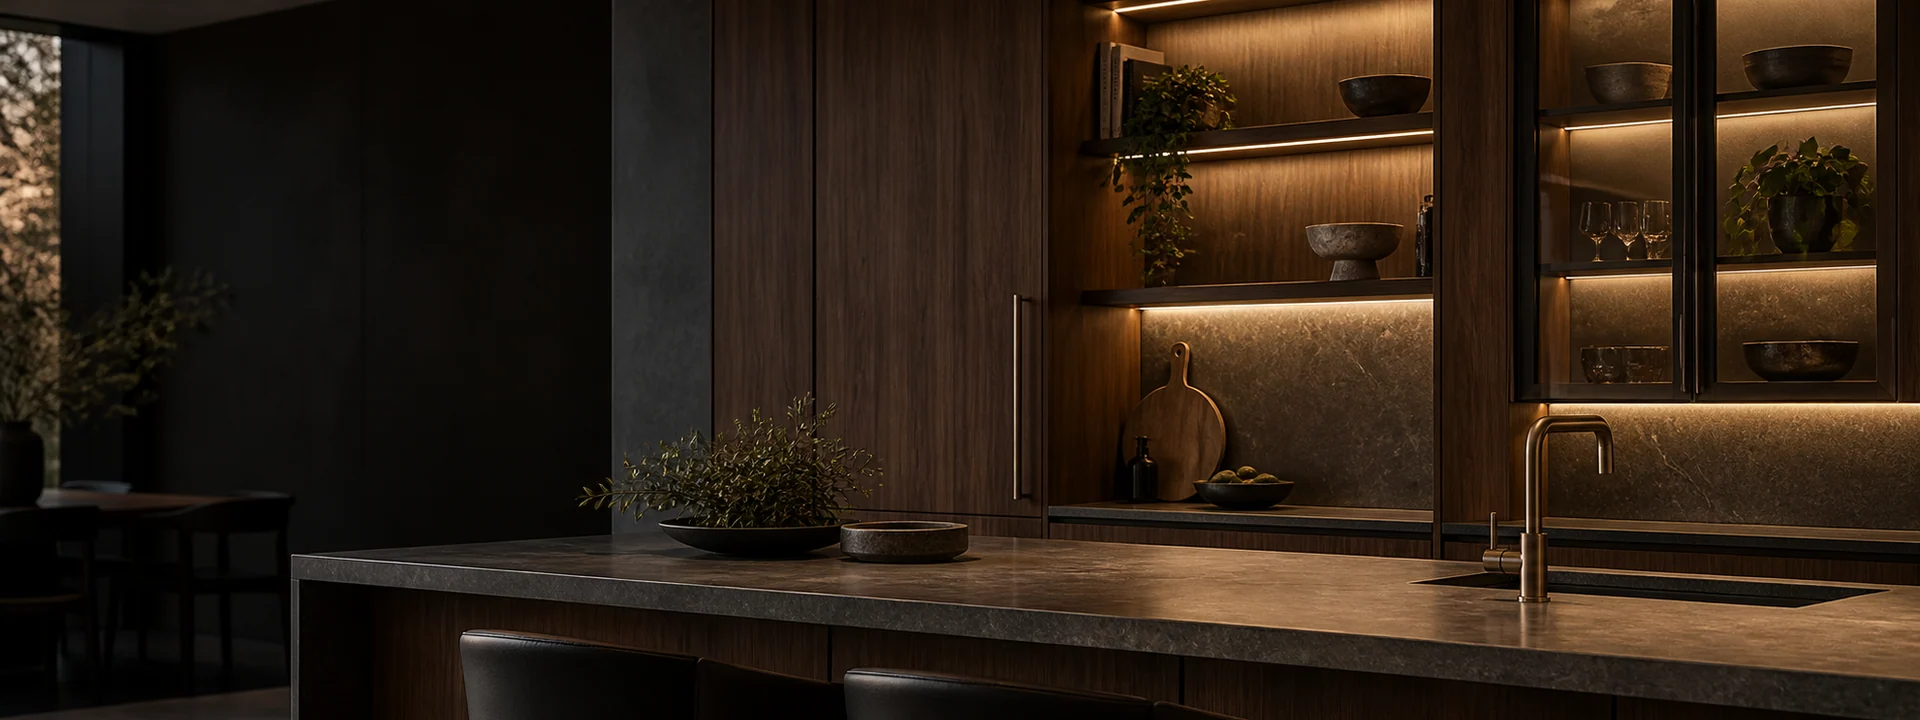
Under-Cabinet Lighting
Show the work surface, cabinet edge and normal viewing angles. Review the position of the light source and the intended illuminated area.

Furniture & Joinery
Build light into cabinets, shelves and furniture details. Select the light source and housing around the joinery, the visible lighting effect and the space available for mounting and connections.
Lighting in Context
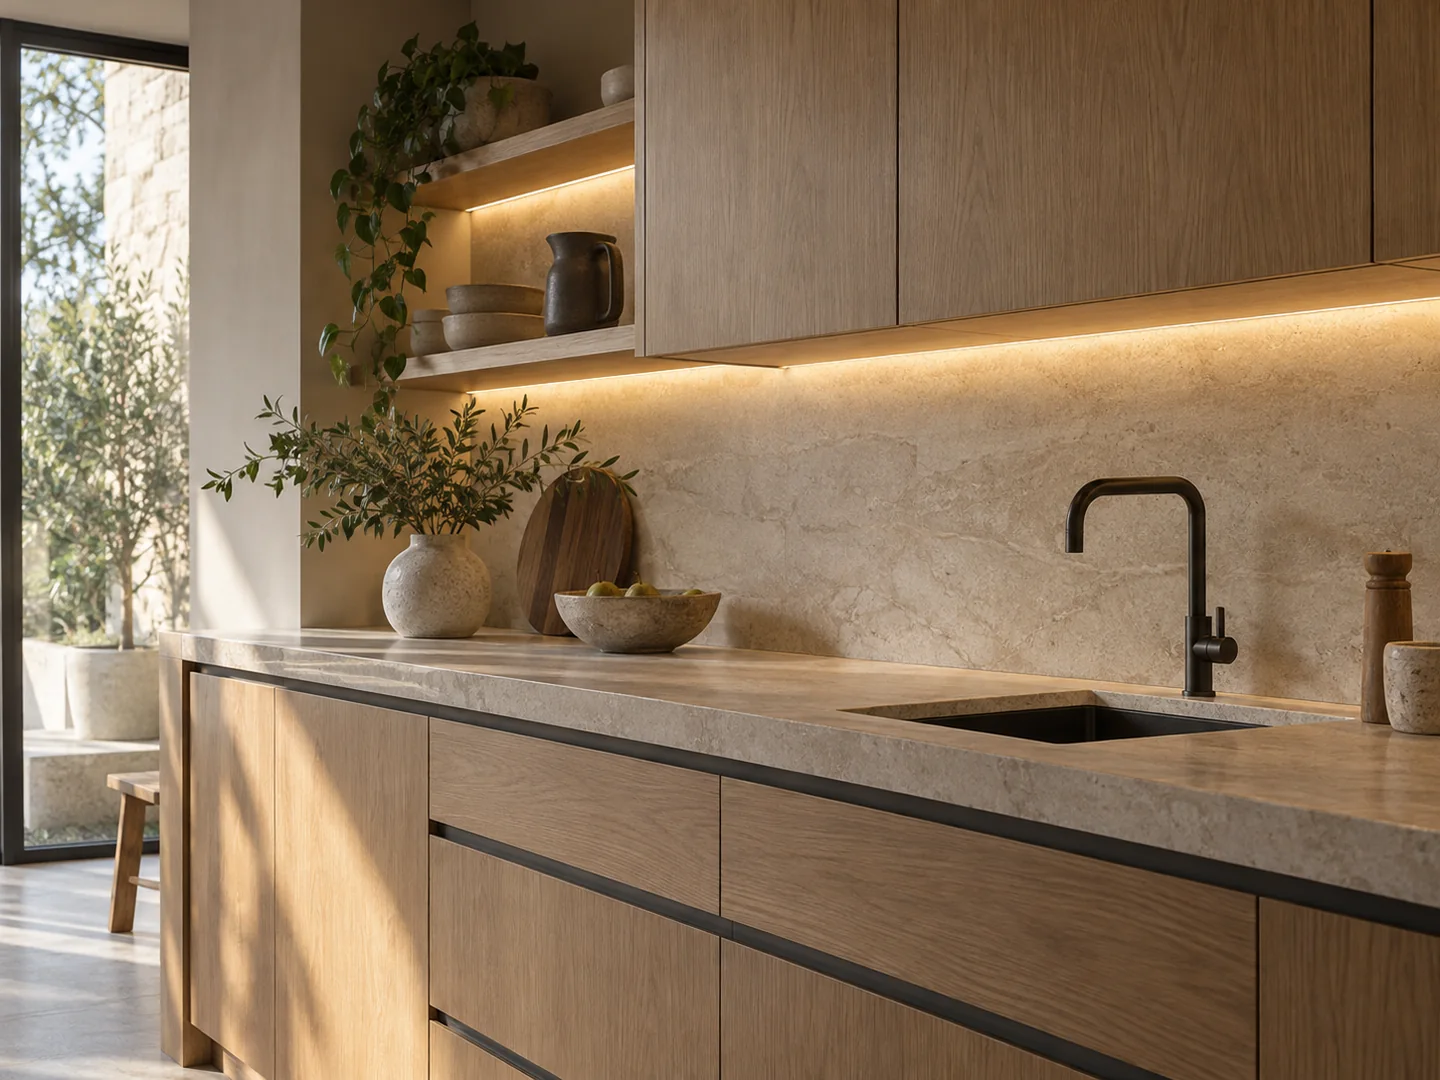
Furniture lighting is part of the furniture detail. Consider what the user sees as well as the housing, cable route and access behind the finished surface.
Show the work surface, cabinet edge and normal viewing angles. Review the position of the light source and the intended illuminated area.
Plan how the light meets the objects and back panel. The strip, diffuser and viewing distance all influence the visible result.
Coordinate the lighting position with shelves, doors and available service access. Include the planned switching and power arrangement.
Product Selection
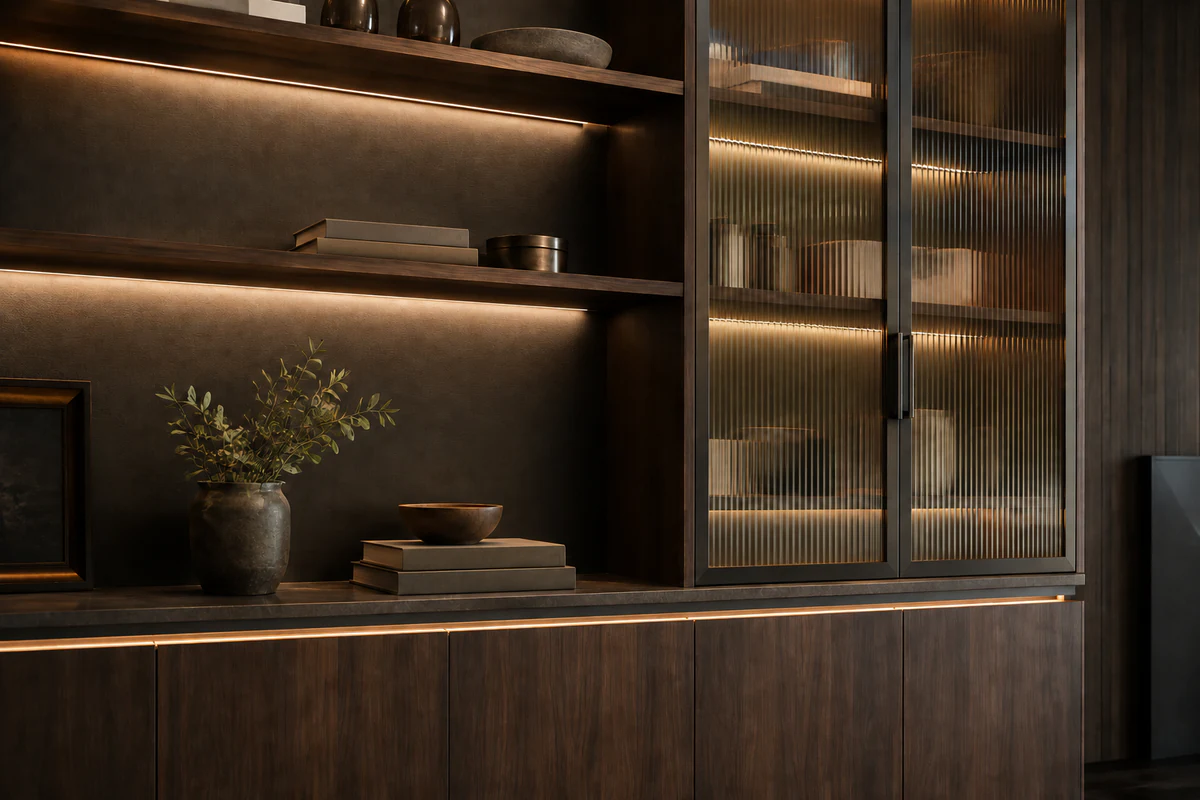
Independently supplied COB and SMD strips are selected around light appearance, electrical requirements and physical fit.
Explore LED Strip LightsEmpty silicone housings for a separately selected strip. Review the section, diffusion objective and strip position together.
Explore LED Silicone TubesChoose end caps, mounting clips and connections for the actual assembly. Check both the physical interface and the connection requirements.
Explore AccessoriesInstallation Review
The required detail depends on the selected product and the finished installation. These are useful starting points for the discussion.
Send Your DrawingCommon Questions
Choose around the required light appearance, installation space and electrical design. The finished result also depends on the housing, diffuser and viewing distance; the strip category alone does not determine the result.
No. Check the actual strip dimensions, profile cavity, connection clearance and intended assembly. A similar nominal width does not establish compatibility.
Send photographs, product references where available, the cabinet or profile section, and details of the existing power and controls. This allows the replacement requirement to be reviewed against the actual assembly.
Provide a section showing the recess, cabinet edge and normal viewing position. Review the source location, housing, diffuser and available installation space together to determine an appropriate concealed-lighting arrangement.
Send the cabinet layout or section, required run lengths and quantity, desired light appearance and any selected strip or profile. Include mounting, cable routing, switching and power details where available.
Request a Quote
Send a section sketch, cabinet photograph or selected strip reference with the required quantity. We will review the next practical step for your assembly.