
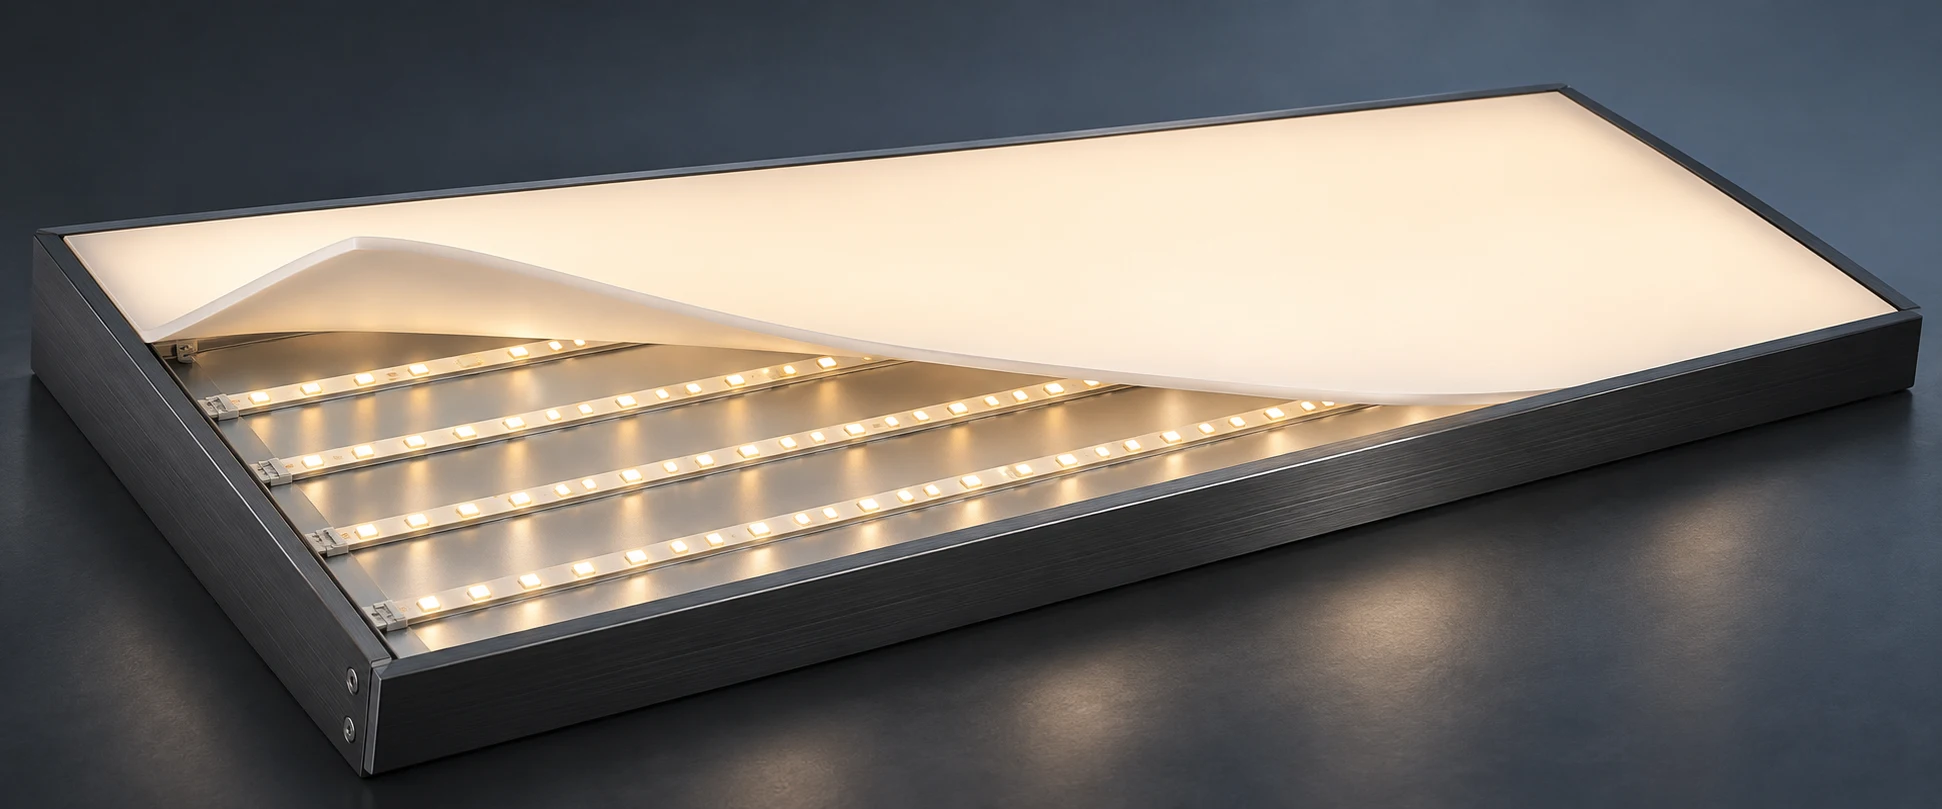
When choosing an LED strip for lightbox projects, test it with the actual graphic face and available depth. Start with the distance from the LED emitting surface to the back of the diffuser or graphic stack. The outside depth of the cabinet includes materials and clearances that can reduce this distance.
Draw the Usable Depth
Take a section through the shallowest part of the box. Mark the mounting plane, the front layers and any hardware that intrudes into the cavity. If the graphic and diffuser are separate, show both. For an edge-lit panel that uses a light guide, use the edge-lit and backlit construction comparison before laying out strips across a backplate.
| What to record | Why it matters for the sample |
|---|---|
| Emitting surface to rear of the front stack | Sets the space available for light to blend |
| Actual graphic, diffuser and backplate finish | Reproduces the transmission and reflections seen in the finished panel |
| Row spacing and offset from the frame | Helps isolate bands between rows and dark or bright borders |
| Seams, fixings and cable entry | Shows where shadows or interruptions may appear |
Try Two Layouts in the Same Cabinet Section
Keep the strip reference, face materials and supply settings fixed for the first comparison. Change one layout dimension at a time. For example, compare a smaller gap between rows while keeping the offset of the outermost row fixed. Inspect the centre, corners and frame edge with the graphic fitted. If a fixing casts a shadow, record its location separately from any banding between the rows.
Use the COB and SMD LED strip range to shortlist a source. LED spacing along a strip and spacing between strips are separate variables. Even a strip with a continuous appearance along its length can leave visible bands across a panel. Review the actual stack at the intended viewing distance and under the expected ambient light.
Quote the Layout You Sampled
Send a marked backplate drawing with each row length, feed point and lead exit. Identify what the sign fabricator supplies, including the cabinet, graphic and diffuser. Attach the accepted sample reference and ask for the strip configuration, cut lengths, leads and any mounting components to be listed separately on the quote. Use the load schedule guide to record the electrical information by feed.
If the installation needs a silicone housing or a different mounting interface for the strip, send the section to Custom Silicone Extrusion. Use the technical resources to identify documents to request for the chosen components.
Frequently Asked Questions
How far apart should LED strips be in a lightbox?
Confirm spacing with the selected strip, usable cavity depth, diffuser and graphic. Compare trial layouts in the same construction and check the centre and borders before fixing the row positions.
Does a shallow lightbox need COB LED strips?
COB is one candidate to sample. Judge how the complete panel looks, including the spaces between rows, at the normal viewing distance. Compare the proposed COB or SMD strip in the actual cabinet section.
What should I send for a lightbox LED strip quotation?
Send the section, face material, inside dimensions, row layout, lead exits, control needs and estimated quantities. List the lighting components you need quoted and identify the parts supplied by your fabricator.
Can a small mock-up represent the full panel?
Use a section large enough to show multiple rows and a real border. Include a seam or fixing if it can affect the light. Review the full panel separately when the complete length or wiring arrangement can change the result.