
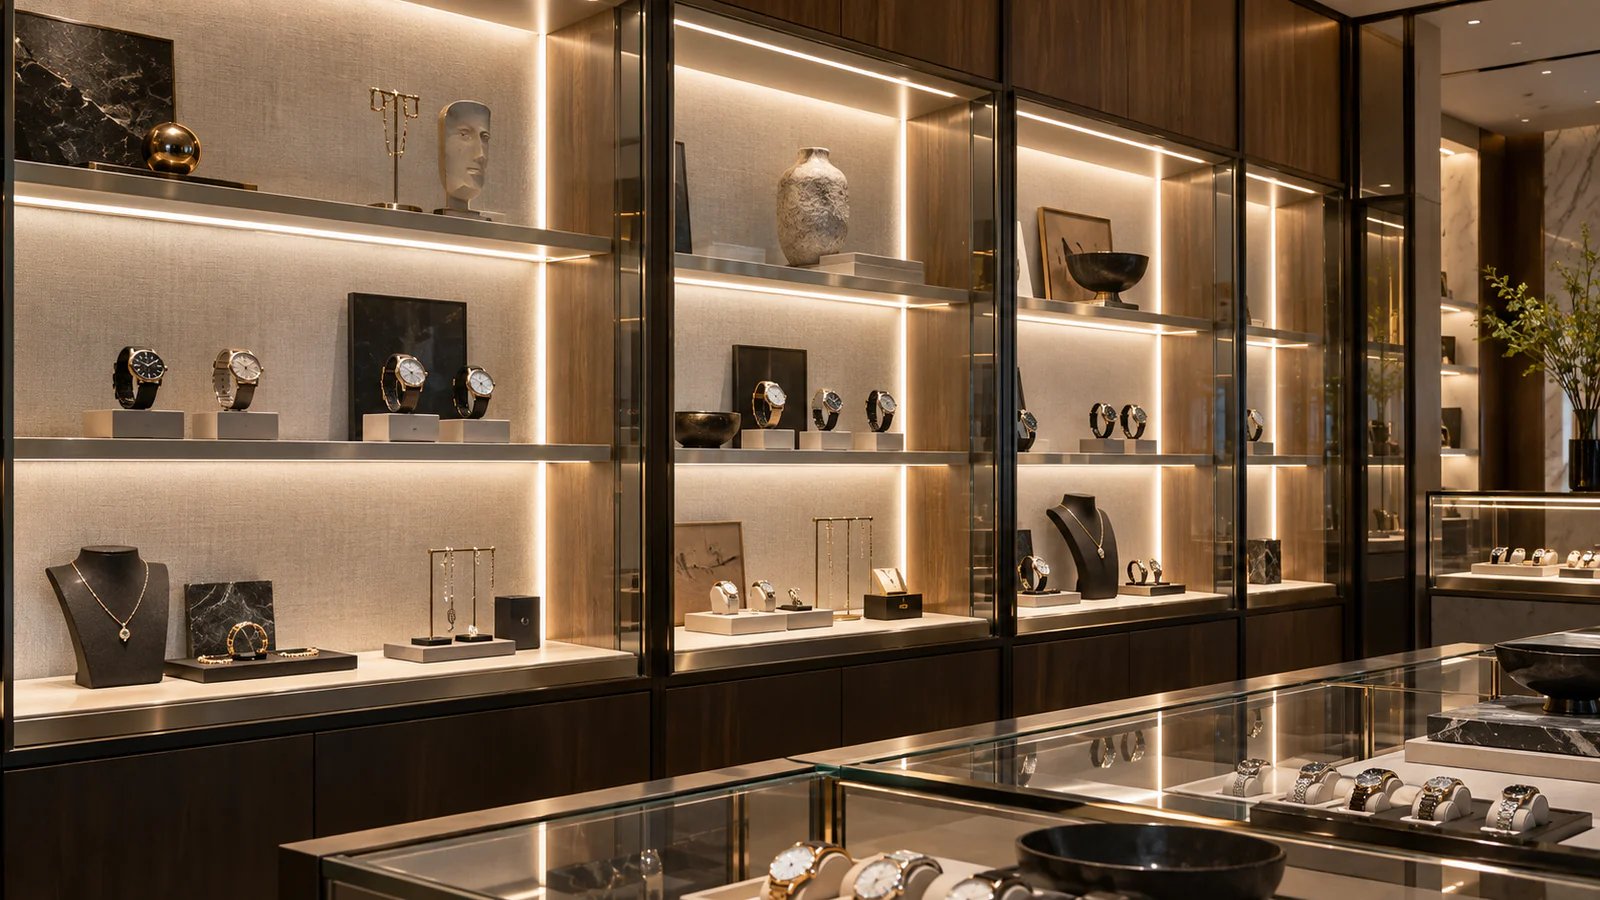
LED display case lighting should reveal the displayed products without exposing distracting LED points, reflections, cables or bulky connections. Start with the viewing position and product arrangement, then choose the light direction, fixture location, diffuser and access route that support the display.
Short answer: Plan the case from the viewer inward. Mark the main sightlines, reflective surfaces, shelf edges and product heights. Place the light where it reaches the display without shining directly into the viewer, then reserve space for the strip, profile, cables and service access.
1. Define What the Display Should Emphasize
List the products, surfaces or details that need visual emphasis. A jewellery case, product shelf and museum-style cabinet may use different light positions even when their outer dimensions are similar. Note product height, finish, colour and whether the arrangement changes frequently.
Decide whether the light should create broad illumination, a controlled edge line or an accent on selected objects. This decision guides source location and diffusion. The Retail Display page provides the application route for discussing the case and visible result.
2. Map Viewing Angles, Glare and Reflections
Stand where the display is normally viewed and mark direct sightlines to the proposed light source. Glass, polished metal and glossy products can reflect a bright strip even when the source itself is concealed. Check seated, standing and side views when they are relevant.
Move the light position or change its angle before relying on stronger diffusion to solve every reflection. A simple full-size mock-up of a shelf edge and glass panel can reveal glare that is difficult to predict from a plan view.
3. Choose a Light Position That Supports the Products
Common positions include the front or rear edge of a shelf, a vertical side, a concealed top detail or an integrated frame. Each position produces a different shadow direction and can expose different parts of the assembly. Consider how tall products block light and how shelf contents may change.
Keep the emitting surface aligned with the intended target rather than simply following the easiest cable route. If the case includes corners or curved details, mark the required bend plane and transitions. Flexible products still need a route that matches their construction.
4. Coordinate the LED Strip, Diffuser and Visible Result
Choose the strip after the light position and visible result are understood. Review board width, component height, LED spacing, colour requirement, control method and cut arrangement. The exact strip should fit within the available profile or silicone format without forcing components or joints.
Diffusion depends on source spacing, distance to the emitting surface, material and viewing position. A smooth line from the front may still show points through a reflection. Use the diffusion guide and compare representative samples before repeating the detail.
5. Reserve Space for the Complete Assembly
Draw the shelf, frame or groove section and show the actual space for the strip, profile, diffuser, clips, cable and connection. Include adjacent glass and removable panels. A narrow visible edge may require the connection to move outside the illuminated section.

Check that the chosen detail does not interfere with doors, shelves or product placement. The profile should be supported and aligned without leaving sharp transitions or protruding parts in normal use. Product selection can begin from LED Strip Lights or LED Neon Flex, depending on the intended construction.
6. Plan Cable Routes, Connections and Service Access
Show where cables leave each shelf or frame and how they reach the power and control equipment. Avoid routing visible wires across the display or trapping a connection behind a permanent panel. Where shelves move or are replaced, confirm how the lighting assembly disconnects safely.
Keep service points accessible without removing unrelated finishes. Label sections when a case contains several separate runs. A clean display is easier to maintain when cable routes and connection spaces are designed before the cabinet is completed.
7. Review a Full-Scale Shelf or Corner Mock-Up
Build a representative part of the case using the actual shelf finish, glass, profile or tube and selected strip. Place a typical product in the mock-up and view it from the expected positions. Check the unlit appearance as well as the illuminated result.
Review glare, reflections, shadows, visible LED points, edge alignment and cable concealment. If the display content changes, test more than one product height and finish. Record the approved arrangement so the same light position and orientation can be repeated.
8. Allow for Display Changes and Routine Service
Many cases are rearranged after installation. A light position that works for a low object may create a strong reflection or shadow when a taller product is added. Define the normal range of product heights and keep the main beam path useful across that range. Adjustable shelves also need a cable and connection plan that does not become exposed when shelf positions change.
Plan how the diffuser, profile or flexible light can be inspected and removed without damaging the case. A serviceable detail does not need to be visually prominent. It needs a controlled access route, enough room for the connection and a method for identifying the correct section. Removable trim or a dedicated cable cavity can be considered where the cabinet construction supports it.
Review the display in its normal ambient light as well as after surrounding lights are reduced. Reflections that disappear in a dark test room can return during daytime operation, while a detail that looks bright in isolation may need a different balance beside other illuminated shelves. Use the intended control setting and representative products when approving the final appearance.
For cases with several repeated bays, approve one complete bay before duplicating the detail. Check the start and end of the light line, the joint between shelves and the route back to the service area. Repetition should reproduce an approved physical arrangement, not only a similar visual impression.
Display Case Planning Checklist
- Case drawing and shelf section
- Normal viewing positions
- Displayed product sizes and finishes
- Required light direction and appearance
- Glass and reflective surfaces
- Available profile or tube space
- Selected LED strip and control method
- Cable exits and connection zones
- Power and service access
- Full-scale mock-up requirement
Common Display-Lighting Mistakes
Lighting the Case Without the Products
Product height, colour and reflectivity affect shadows and highlights. Include representative items during review.
Checking Only the Front View
Side and standing views may expose the source or a reflection. Test all normal sightlines.
Leaving Connections Until Cabinet Assembly
A connection needs physical space and access. Reserve it in the drawing rather than hiding it wherever space remains.
Using a Small Sample Away From Glass
Glass and polished finishes can introduce reflections that are absent from an open bench sample. Recreate the case detail.
Frequently Asked Questions
Where should an LED strip be placed in a display case?
The position depends on viewing direction, product height, shadows and reflections. Compare front-edge, rear, side and top positions in a representative mock-up.
How can visible LED dots be reduced?
Coordinate LED spacing, distance to the diffuser, profile geometry and viewing position. Test the complete assembly rather than judging a bare strip.
Is LED neon flex suitable for a display case?
It may suit details that need a continuous flexible line, provided the section, bend direction, light output, space and connections match the case. Review the exact product.
How should cables be hidden?
Plan cable exits through shelf edges, frames or service cavities while keeping connections accessible. Do not trap service points behind permanent finishes.
What should be sent for a display-lighting review?
Send the case drawing, shelf section, product arrangement, viewing positions, desired light appearance, available space, cable routes and quantity.
For lighting that continues beyond a display case, coordinate the overall architectural light line with concealed cove sections and cabinet cable routes. A fixed shelf-edge interface may need a custom silicone profile; review the manufacturing and sample scope with the proposed section.