
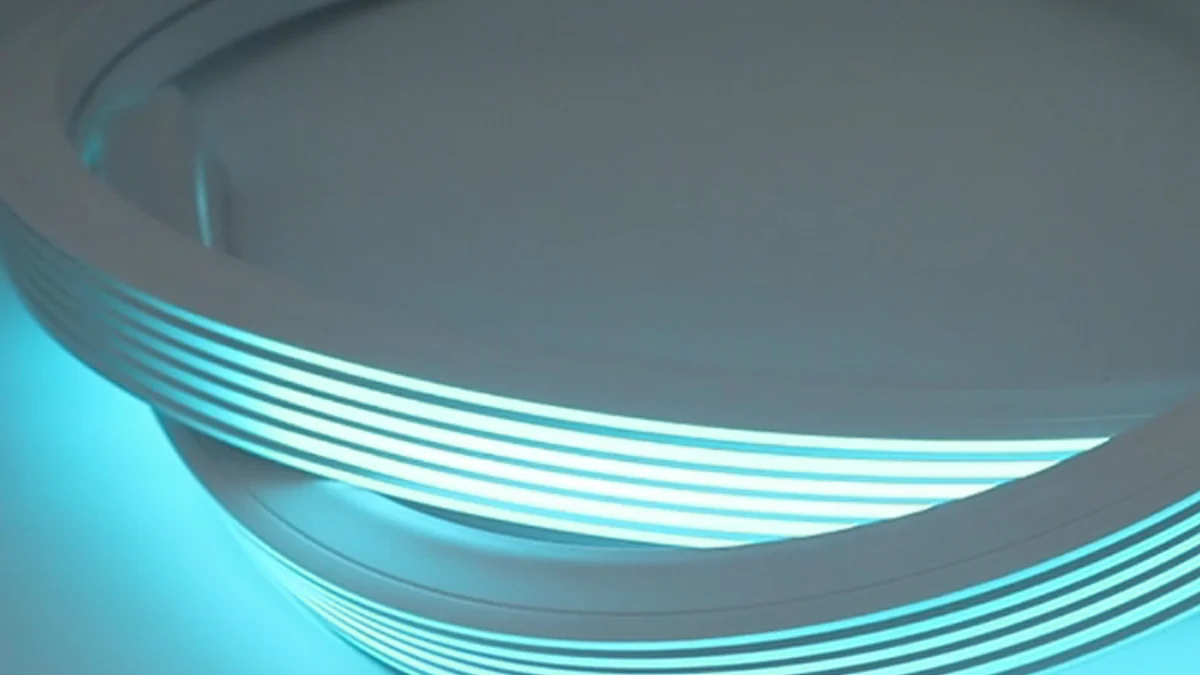
Learning how to diffuse LED strip lights starts with the complete lighting detail, not the cover alone. A smooth light line depends on the spacing and construction of the LED source, the distance between the LEDs and the emitting surface, the profile geometry, the diffuser material, the viewing position and the surrounding surfaces. The most reliable approach is to select these parts together and test a representative sample before installation or production.
Quick answer: To diffuse LED strip lights, first decide whether the finished light source will be visible or indirect. Then match the strip to a rigid channel with a suitable cover, a flexible silicone tube, or a concealed reflecting surface. Check internal fit, light direction and viewing distance, and approve the result with the actual strip and profile rather than choosing a diffuser by appearance alone.
Why Do Individual LED Dots Remain Visible?
An LED strip contains separate light-emitting points or a more continuous light-emitting surface, depending on its construction. A diffuser spreads and blends that light before it reaches the viewer, but it cannot correct every mismatch in the assembly.
Visible dots are more likely when:
- the emitters are widely spaced in relation to the viewing distance;
- the diffuser sits close to the light source;
- the diffuser is too clear for the required appearance;
- the strip is not centred or is angled inside the profile;
- the light is viewed directly from a close position;
- a glossy surface reflects the separate light points;
- joints, connectors or cable entries interrupt the light path.
The same strip and diffuser can look different in a deep profile, a shallow profile and a silicone tube. That is why diffusion should be evaluated as an optical and mechanical system rather than as a single accessory.
Four Practical Ways to Diffuse LED Strip Lights
1. Hide the Strip and Use Reflected Light
Indirect lighting places the strip outside the normal line of sight and directs the light toward a wall, ceiling, shelf or another surface. The reflected surface becomes part of the optical system and can soften the apparent light without placing a cover directly over the strip.
This approach can work well in coves, recessed details and concealed furniture lighting. The result still depends on the distance to the reflecting surface, its colour and finish, the viewing position and the consistency of the installation. A glossy, uneven or very close surface may reveal unwanted bands or reflections.
2. Use a Rigid Channel and Diffuser Cover
A rigid channel supports the strip and positions a separate clear, frosted or opal-style cover above it. The cover and profile must belong to the same system; similar-looking covers are not automatically interchangeable.
Review the following before choosing this method:
- internal channel width and clearance for the strip;
- available depth between the strip and cover;
- connector and cable space;
- surface, recessed or corner mounting requirement;
- whether the installation route is straight or curved;
- how the cover changes the visible light and useful output.
Rigid profiles are useful where a straight, defined installation line is required. They are not the default answer for a curved route unless the complete profile system is designed for that geometry.
3. Use a Flexible Silicone Tube or Profile
A silicone tube combines a flexible housing and visible light surface in one cross-section. It can be useful where a rigid channel cannot follow the intended route, or where the profile itself needs to become the finished light line.
The cross-section should be checked against the actual strip. Internal width alone is not enough: component height, strip position, pulling or insertion method, bending direction, cable exits and end details all affect the assembly.
The LED Silicone Tubes page explains how existing and custom profile formats can be reviewed around the strip and installation. If a standard cross-section cannot provide the required fit or light surface, a custom silicone extrusion may be considered from a drawing or sample.
When selecting a silicone diffuser for an LED strip, compare the flat, domed and round profile families for the installation shape, then check the actual strip with the strip-to-profile fit guide. If the LED strip is already selected, include its model or a clear photograph; if the requirement is for a complete assembled flexible light, start with LED Neon Flex instead of treating an empty tube as the finished product.
4. Start With a More Continuous Light Source
A diffuser has less work to do when the light source already appears more continuous. Closely spaced emitters or a COB-style strip can reduce the separation between bright points, but they do not remove the need to check heat, power, control, profile fit or the finished viewing condition for the selected product.
Do not choose a strip only because a close-up photograph looks smooth. Review the complete illuminated sample from the distance and angle that matter in the application.
Diffusion Method Comparison
| Method | Strongest use case | Main items to verify | Common limitation |
|---|---|---|---|
| Concealed or reflected light | Coves and details where the source stays out of sight | Aim, distance, surface finish and viewing position | The surrounding surface can create bands or reflections |
| Rigid channel and cover | Straight, defined mounting lines | Strip width, profile depth, cover fit and mounting detail | Rigid construction may not follow a curved route |
| Flexible silicone tube | Curved or integrated light lines | Cross-section, strip fit, bend direction and assembly method | A profile must be matched to the actual strip and route |
| More continuous LED source | Close-view or visible lighting details | Product reference, output, control and thermal requirements | It does not solve poor placement or an unsuitable profile |
No method is universally best. The selection should begin with the installation drawing and desired light appearance, then be confirmed with the proposed components.
How to Diffuse LED Strip Lights Step by Step
1. Define the Finished Appearance
Describe what the viewer should see: a hidden glow, a visible but soft linear source, or a continuous illuminated profile. Record the normal viewing distance, angle and surrounding surface. “No visible dots” is incomplete unless the viewing position and operating condition are also stated.
2. Identify the Exact LED Strip
Provide the strip reference or available specification, including its physical width, component height, cut arrangement and required electrical or control equipment. Do not assume that two strips with the same nominal width will fit or look the same inside a profile.
The COB vs SMD LED strip guide explains how the two constructions differ visually and mechanically without treating either format as the automatic choice for every project.
3. Measure the Available Installation Space
Check the width, height, route and mounting surface. Include grooves, corners, transitions, cable paths and nearby components. A diffuser solution that looks suitable in isolation can fail when the connector or cable exit has no clearance.
4. Choose the Profile Format
Select a rigid channel for a straight supported detail, a flexible silicone profile for an appropriate curved route, or an indirect arrangement when the strip can remain concealed. If the route changes planes, review each transition rather than forcing one profile through an unsupported bend.
5. Review Light Direction and Diffuser Distance
Identify the emitting surface and where it should face after installation. More separation between the source and the visible surface can allow light to blend, but the useful distance depends on the strip, profile and diffuser. A deeper profile is not automatically suitable if it conflicts with the available space or light direction.
6. Include Joints, End Caps and Cable Exits
The centre of a sample may look uniform while the ends do not. Review how cut points, soldered leads, connectors, end caps and cable exits affect the visible line. If these details sit inside a narrow profile, they may change the strip position or produce a local shadow.
7. Build a Representative Sample
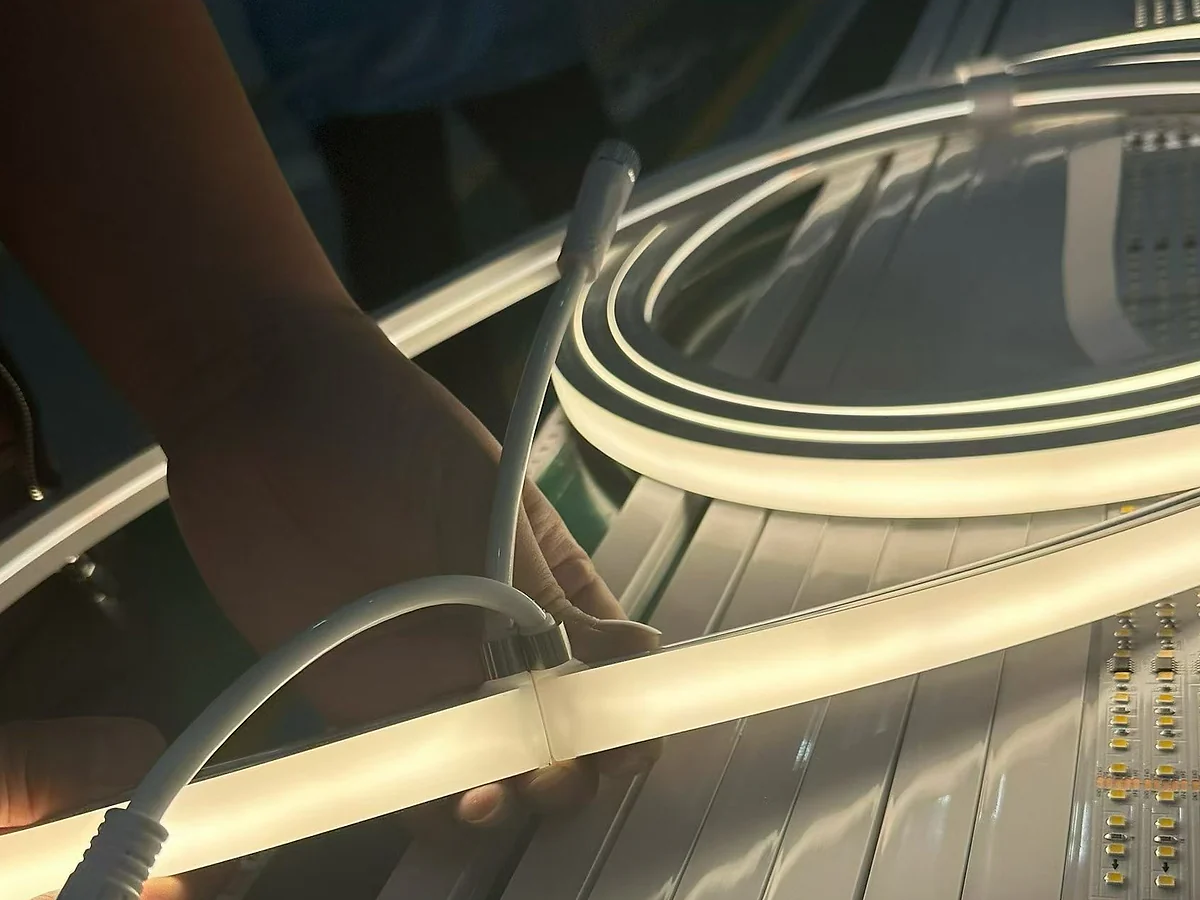
Use the proposed strip, profile, diffuser, connection and operating equipment. The sample should include a realistic length and at least one critical detail, such as a bend, joint or end connection, when that detail affects the project.
8. Review the Sample From the Real Viewing Position
Test the light at the intended distance and angle, not only from directly above. Check the light line, glare, visible points, shadowing at joints, colour appearance and reflections on nearby surfaces. Photograph the result under a consistent condition and record the components used.
The LED strip testing guide provides a broader pre-installation function and sample checklist.
What a Diffusion Sample Should Confirm
A useful sample review separates what is visible from what still requires product documentation or formal testing.
| Sample check | What can be reviewed | What it does not prove by itself |
|---|---|---|
| Strip and profile fit | Physical clearance, strip position and assembly method | Compatibility with every strip or connector |
| Illuminated light line | Visible dots, shadows, glare and uniformity at the reviewed position | Performance at every distance, angle or operating condition |
| Bend sample | Whether the selected profile follows the proposed route within its stated direction | An unstated minimum radius or multi-plane bending capability |
| End and cable detail | Local shadows, cable strain and available assembly space | Environmental protection or long-term durability |
| Side-by-side sample | Relative appearance of proposed combinations | Universal brightness or colour performance |
Keep the approved sample and its component list together. Changing the strip, diffuser, profile, operating condition or viewing position can change the result.
Common Diffusion Mistakes
Choosing the Whitest Cover Without Testing
A more opaque-looking surface may hide emitters more strongly, but it can also change the amount and distribution of visible light. Select by the installed result, not by the unlit colour of the cover.
Ignoring the Distance Between Strip and Emitting Surface
Changing the diffuser without checking profile depth can leave the same visible pattern. The separation and geometry determine how much room the light has to blend.
Treating a Silicone Tube as a Universal Sleeve
The tube must match the strip, bending route, light direction and assembly method. Forcing a strip into an unsuitable cavity can damage components, distort the light line or make connections impossible to fit.
Approving Only a Close-Up Photograph
Camera exposure can hide bright spots or exaggerate them. Review the physical sample from the real viewing position and record the camera image only as supporting evidence.
Forgetting the Ends and Connections
End caps, cable exits and connectors often occupy more space than the bare strip. Include them in the sample before the profile or surrounding structure is finalized.
Information to Send for a Diffusion Review
Provide what is available:
- LED strip reference, dimensions or clear photographs.
- Installation drawing or sketch with available width and height.
- Desired visible light line and normal viewing position.
- Required light direction and route, including curves or corners.
- Proposed rigid channel, silicone profile or surrounding housing.
- Connection method, cable exits and end details.
- Indoor or outdoor exposure information for the complete assembly review.
- Sample requirement and estimated production quantity.
These details allow the light appearance and mechanical fit to be reviewed together instead of selecting a diffuser in isolation.
Frequently Asked Questions
What is the easiest way to diffuse LED strip lights?
The simplest method depends on the installation. A hidden strip aimed at a matte surface may create a soft reflected glow. A visible straight run may need a channel and cover, while a curved integrated line may need a silicone profile. Test the proposed arrangement before permanent installation.
Can a diffuser make any LED strip look dot-free?
No. The result also depends on the LED source, spacing, distance to the emitting surface, profile geometry, viewing position and operating condition. A diffuser cannot compensate for every mismatch.
Is COB always better for diffusion?
COB-style strips can provide a more continuous starting appearance, but “better” depends on the selected product, profile fit, control needs, output requirement and application. Compare the actual proposed samples rather than relying on the construction name alone.
Are silicone tubes better than aluminum channels?
They solve different installation problems. A rigid channel can support a straight defined line and separate cover. A silicone tube can provide a flexible housing and visible light surface. Choose according to route, cross-section, strip fit, mounting and finished appearance.
How far should the diffuser be from the LED strip?
There is no single distance that works for every strip and diffuser. Emitter spacing, profile shape, diffuser material and viewing position all affect the required separation. Confirm it with the selected components and a sample.
Should I test the strip inside the profile before ordering a full quantity?
Yes. A representative sample can reveal fit, visible dots, glare, light direction, joint shadows and connection-clearance issues before the final installation or production quantity is approved.
Need a flexible silicone profile or custom silicone extrusion for your lighting project? Send the installation section for custom silicone extrusion review, or compare existing silicone tube shapes. For a finished diffused LED strip assembly rather than an empty housing, review LED Neon Flex. Include the strip reference, viewing distance and a photograph of the light appearance you want to achieve.