
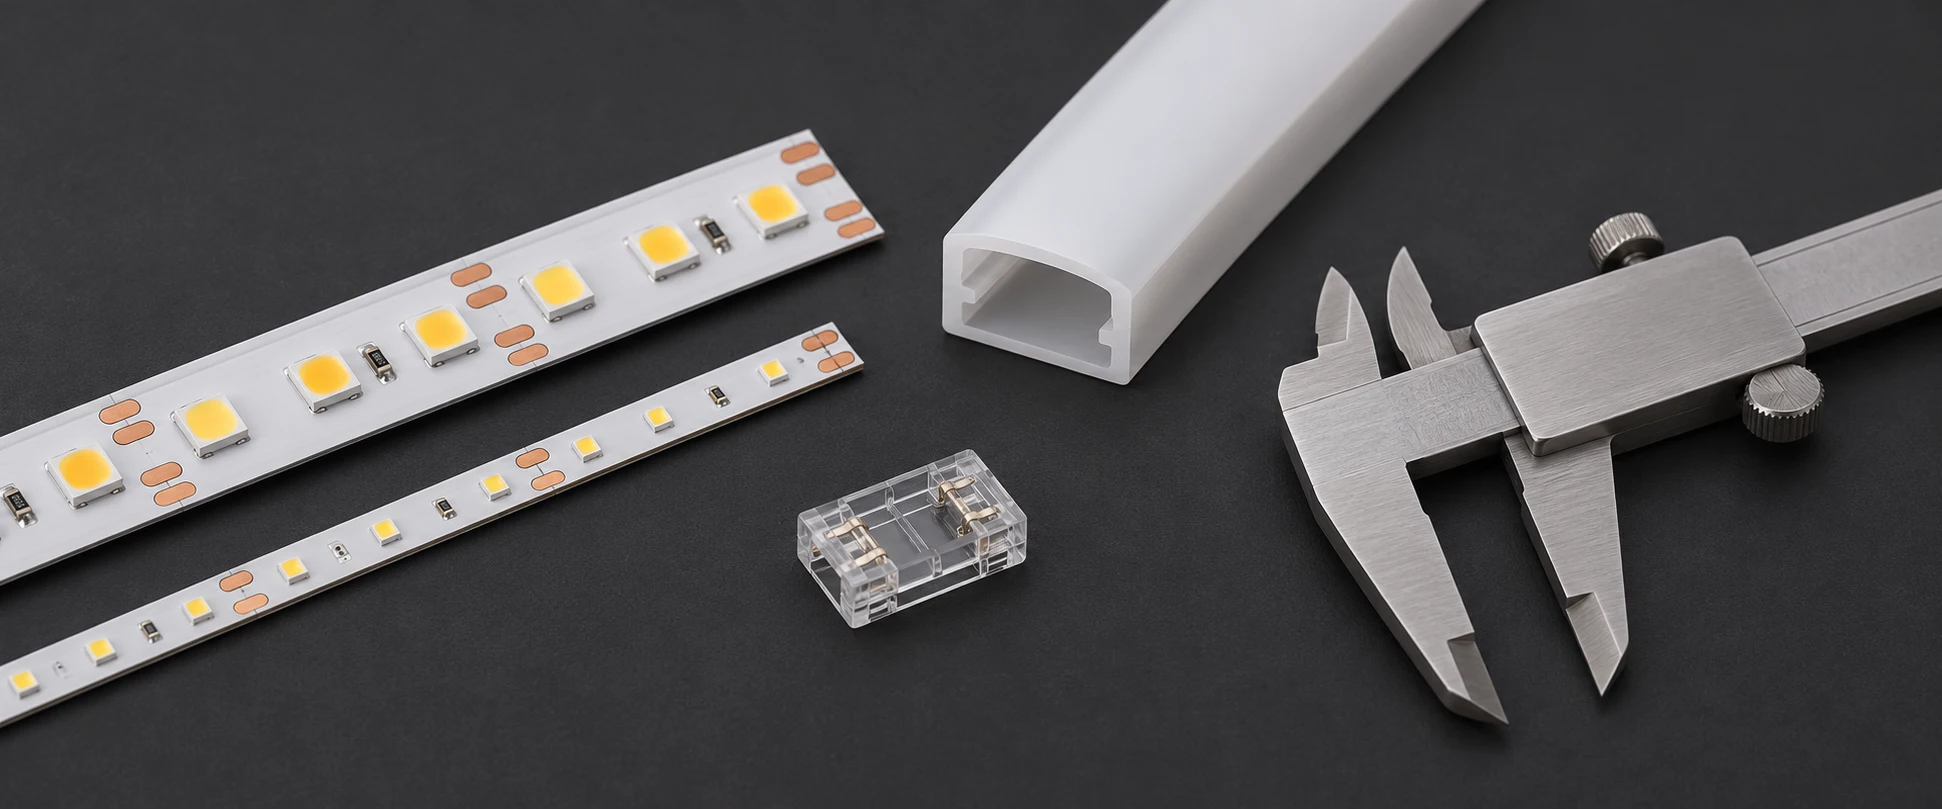
Compare LED strip widths at the bare board, then measure the widest part of the assembled connection. A strip can sit comfortably in a channel while its connector catches at the entrance. If the strip has to slide into a silicone tube, measure the narrowest point along the insertion path as well as the space where the strip will sit.
Measure the Parts That Travel Through the Opening
| Measurement | Where to take it |
|---|---|
| Bare PCB width | Across the board edges, away from the connector |
| Finished strip width and height | Across the widest and tallest points, including any coating or sleeve |
| Connection envelope | Across the closed connector or insulated solder joint, with the cable in its intended exit direction |
| Available opening | At the entry and any retaining lips, steps or end pieces along the insertion path |
If the connector will be attached after insertion, check whether there is room to close it and route the cable in the final position. Use the COB strip connector guide to check pad layout and connection style as well as physical clearance.
Put the Board Width on the Drawing
Call out the exact strip reference alongside the measured width. Two strips with the same nominal width can have different coatings, component heights or terminal layouts. For a replacement, send a photo of the existing cut end and a cross-section of the opening with the dimensions marked. Include the cover if the channel closes around the strip.
The silicone tube fit guide gives you published housing references to compare. Check the section and verify clearance with the actual strip and termination before ordering. If a fixed recess or cable route calls for a different cross-section, send that interface to custom silicone extrusion.
T-Series References for 8, 10 and 12 mm PCB Widths
| PCB width reference | White housing | Outside width × height |
|---|---|---|
| 8 mm | T0511 | 11 × 5 mm |
| 10 mm | T0513 | 13 × 5 mm |
| 12 mm | T0515 | 15 × 5 mm |
For each housing, check the narrowest clear opening and the connector envelope on the drawing or physical sample. The outside dimensions describe the body of the housing.
Example With a 10 mm PCB
Start with the T0513 drawing. Place the intended strip in a short housing sample, then try the planned assembly sequence with the closed connector and lead. If the connector catches at the entry, check whether it can be attached after the strip is inserted and whether it can then sit clear of the end cap. Send the drawing revision, connector width and height, an end photo and the required quantities with your fit review request.
Check a Sample Before Ordering Production Lengths
Assemble a short section with the intended strip, housing and connection. Check whether it can be inserted using the planned sequence, whether the cover seats, and whether the lead exits without holding the end cap open. Record the strip, connector and housing references together. When a joint needs more room than the straight run, show that area separately on the drawing.
AlisterTech can review your requested strip or silicone profile against the section and sample you provide. See the LED strip light range and manufacturing page for the product and assembly context.
Frequently Asked Questions
Is LED strip width measured across the circuit board?
Use the width across the board edges when comparing bare PCB specifications. For installation, also record the finished width with any coating, sleeve or other added material.
Can a strip fit a channel with the same nominal width?
Check the actual clear opening, retaining lips and assembly sequence with a sample. A nominal width gives a starting dimension, while the drawing and sample establish the usable fit.
Should I measure the connector with the cable attached?
Yes. Measure the closed connector and cable exit in the intended orientation. Include any strain relief or insulation that occupies space around the connection.
What should I send for a strip and housing quote?
Send the strip reference, measured dimensions, a section drawing, end connection details and quantities. List the strip, housing and accessories you need quoted.