

LED signage lighting starts with the sign design, not a reel photograph. A visible line around a facade, a glowing letter face and a softly lit logo panel need different light positions and mounting details. Decide what the audience should see, where the source can sit and how the finished sign will be serviced before choosing a flexible light or LED strip.
Your sign drawing can become the starting point for an AlisterTech silicone lighting enquiry. We supply silicone profiles and Neon Flex formats that can be discussed around the visible line, available depth and cable route. A fixed letter opening or support interface may call for a custom section. Showing that constraint early is more useful than selecting a reel by its photograph.
Short answer: Use a finished flexible light when the visible illuminated line is the design. Use a separately specified LED source when it will sit behind a sign face or inside a housing. Neither choice is complete until the route, end connections, viewing position and sign construction have been checked together.
Outline, letter face or backlit panel?
Where can the light be mounted?
Check day and night appearance.
Plan ends, cables and service.
1. Define What Part of the Sign Should Glow
An outline sign presents a line of light. A face-lit letter presents a bright surface. A halo effect lights the background around a raised form. A cabinet sign distributes light behind a panel. These are not interchangeable descriptions: the same LED product will appear different when it is exposed, hidden, diffused or reflected from the surrounding material.
Start with a drawing or clear image showing the sign face and a normal viewing position. Mark each illuminated zone and note whether the line itself should be visible. A narrow outline can make the edge of a form legible, while a backlit face needs an even field of light rather than a conspicuous line. If the sign mixes both effects, treat them as separate lighting zones with separate mounting and cable plans.
The Signage & Branding application page shows how a visible line can be part of a wider installation. For a quote, the sign drawing matters more than a mood image because it reveals the actual paths, corners and endpoints.
2. Select a Visible Light Line or a Concealed Source
Finished LED neon flex includes its light source and a diffusing body. It can be considered where the illuminated line itself traces an outline or exposed detail. The exact section, emitting face, bending direction and end treatment must be checked against the route. A smooth glowing photograph alone does not prove that a selected model will follow a particular letter or corner.
A separately supplied LED strip may be considered where the sign maker provides a suitable housing, diffuser and electrical assembly. It is a component, not a finished sign. When the source sits behind a face, check its position and the available distance to that face with a sample; do not assume that a strip that looks even in the open will also light a shallow letter evenly.
Different sign constructions may call for other lighting components. This article does not assume that every channel-letter or illuminated-panel component is supplied by AlisterTech. If the design requires modules, a particular sign enclosure or specialist controls, include those items in the sign maker’s complete assembly plan. The decision here is whether AlisterTech’s flexible light or strip format suits the specific visible or concealed lighting task.
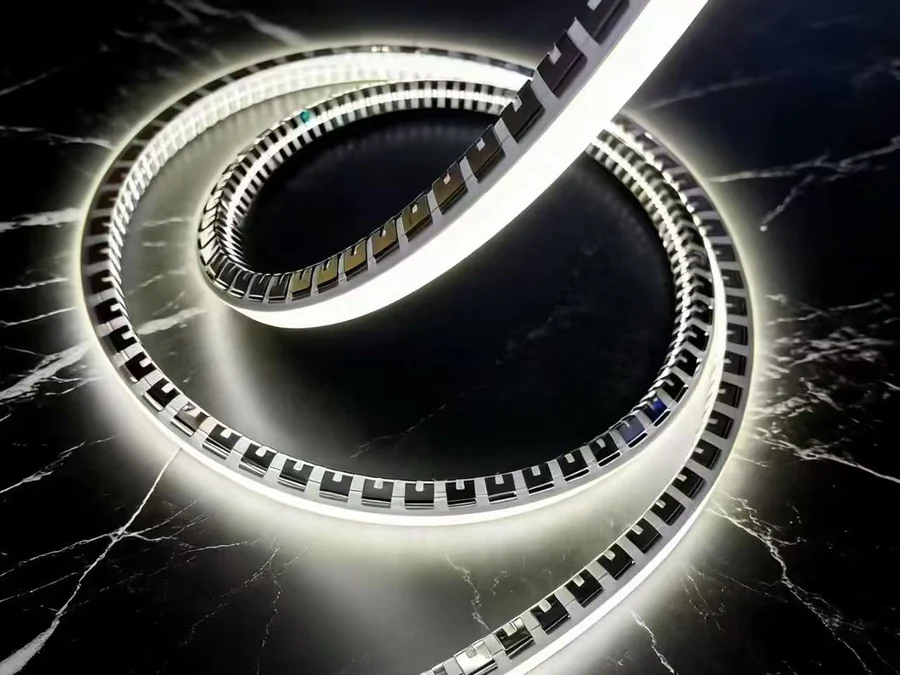
3. Match the Sign Geometry to the Light’s Real Movement
Trace the route on a drawing before selecting a section. Mark straight runs, curves, sharp changes of direction, separate letters and any breaks needed for installation or transport. A line that turns around a flat sign face may need a different bending plane from one that wraps over an edge. Do not use light-emitting direction as a substitute for bending direction.

Where the design includes tight corners, small internal spaces or multiple disconnected strokes, do not force one continuous length through every feature. Consider where sections can end discreetly and where a cable can leave the sign without becoming visible. A corner that looks continuous in a rendering may require a real joint or a change in the sign construction.
If the required route cannot be served by a standard section without changing the intended effect, a custom silicone profile can be reviewed from a drawing or physical reference. Custom geometry still needs the selected LED source, visible face, mounting interface and end detail to be defined; it is not a shortcut around those decisions.
4. Compare Daytime Appearance With the Lit View
Signage is seen unlit as well as illuminated. The body colour, mounting hardware and cable exits may remain visible in daylight. At night, surrounding glass, metal and pale cladding can change how bright or even the line appears. Review both conditions from the intended viewing distance rather than approving a close-up illuminated sample alone.
For letters or logos, inspect whether the chosen light makes the shape readable at the normal approach angle. A line that is striking from the side can disappear against a bright background or dominate a small symbol. A backlit panel can show bright and dark regions when the source position and face depth have not been tested together. Adjust the sign construction or source position against a representative mock-up instead of assuming a different product label solves the problem.
Keep the visual target specific. Describe the desired line width, colour impression and which surfaces should remain dark, but do not copy a competitor’s electrical rating or performance number into the request. Those details belong to the actual selected configuration.
5. Plan Endpoints, Power and Service Before Fabrication
Mark the start and stop of every illuminated segment on the drawing. Show the intended cable exit, concealed path, power equipment location and a way to reach each connection after the sign is installed. The connector body and cable bend need physical space even when the visible light line is slim. A beautifully resolved front view can fail once the rear of a letter or fascia has no room for the connection.
Keep access in mind when choosing how many sections the sign uses. A long uninterrupted appearance may be assembled from manageable parts if the joins are planned and visually reviewed. Conversely, an unnecessary joint in the most visible position can interrupt the line. The exact method depends on the selected light and approved assembly instructions. The neon flex connector guide explains why end geometry and cable routing must be checked against the model.
Do not conceal power equipment or connections permanently just to clean up the drawing. Agree where inspection and replacement can occur without damaging the sign face or surrounding cladding. Any electrical work must follow the selected product instructions and applicable local requirements.
6. Review the Complete Sign for Its Environment
A sheltered interior sign and an exposed facade sign place different demands on the completed installation. Describe rain exposure, cleaning practices, surface temperature, likely handling and where water could travel along cables. A product body’s appearance is not evidence that its field-made ends, connectors, power equipment and mounting detail are suitable for the same environment.
Confirm the environmental scope for the exact quoted product and finished assembly. Avoid assuming that one component’s rating applies to a cut length or a connection made on site. If the sign is exposed, locate joins and cable exits deliberately and review the proposed end treatment before any installation route is closed.
7. Approve a Representative Sign Section
A useful sample reproduces the difficult part of the sign: a letter stroke, a curve, a corner, a face material or the actual mounting edge. Put the selected light in that detail, connect it as intended and view it from the normal approach position. Record the lit and unlit appearance, the cable exit and the way the section can be removed for service.
Do not use a coil on a workbench as the sole approval for a completed sign. The surrounding surface, depth and position are part of the result. If the mock-up requires a different section or route, revise the drawing before repeating the detail across the full installation.
8. What to Send for a Signage Lighting Review
- Sign elevation with the illuminated zones marked
- One section showing the face, housing and available depth
- Normal day and night viewing positions
- Visible outline or concealed/backlit source requirement
- Route, corners and separate illuminated sections
- Preferred colour and light-line appearance
- Indoor, sheltered or exposed installation conditions
- Proposed cable exits, power equipment and service access
- Existing product reference, sample need and estimated quantity
If only a sketch or photograph is available, send it with the sign dimensions and the effect you need. The next step is to identify which physical details need confirmation, not to infer a complete sign specification from a mood image.
Common Signage Lighting Mistakes
Choosing the Light Before the Sign Section
The visible effect depends on where the light sits relative to the face and surrounding material. Review the section first.
Confusing Emitting Face With Bend Direction
A product can emit toward one side while bending in another plane. Check both against the route.
Forgetting the Unlit View
A tidy glowing line may still show a distracting body, fastener or cable in daylight. Approve both states.
Hiding End Connections Without Access
Ends and joins need room, protection and a service plan. Draw their positions before fabricating the sign.
Frequently Asked Questions
Is LED neon flex suitable for every sign?
No. It is one option for a visible diffused line. Face-lit, halo-lit and panel signs may need a different source and housing arrangement.
Can an LED strip replace finished neon flex in an exposed outline?
Only if the sign provides a suitable housing, diffuser, mounting and end treatment. A bare strip and a finished flexible light are different assemblies.
Can a flexible light make a sharp letter corner?
That depends on the selected product’s bend direction and the sign geometry. Review the corner at sample scale rather than forcing a bend.
Does the light body alone determine outdoor suitability?
No. Ends, cables, connections, equipment and mounting must be assessed as part of the complete installation.
What is the best first file to send?
A sign elevation plus one section that shows the light position, available depth and cable route provides a useful starting point.
What determines the lighting quotation for a custom sign outline?
The selected lighting configuration, section, lengths, curves, ends, connections and quantity define the enquiry. Scaled artwork helps communicate the outline, but mounting and electrical equipment still need their own scope. Use the bend-direction guide to describe the route, then identify the lighting parts you want AlisterTech to quote.